
May 12, 2025
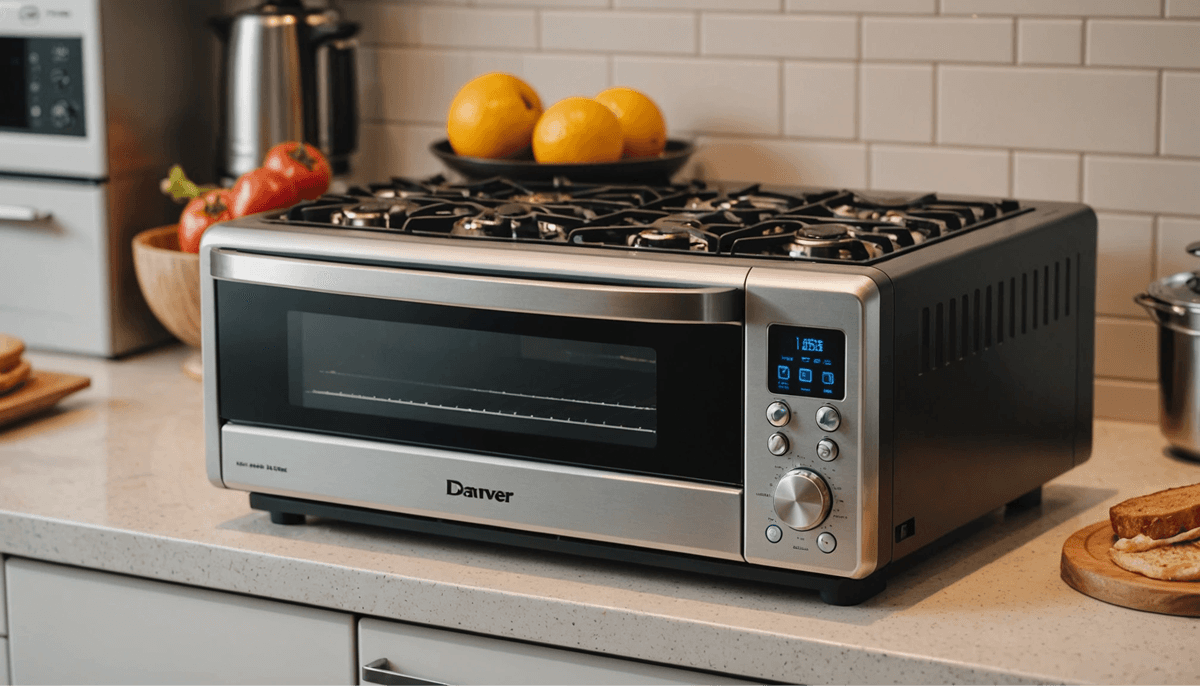
10 Essential Traits You Should Look for When Hiring an Appliance Repair Company Near You

Jul 12, 2025
Linkny homeowners accidentally shorten their appliance’s lifespan simply by skipping key steps in setup and maintenance. To help you get the most out of your investment, here are the five most common mistakes people make with new appliances — and how to avoid them.
1. Ignoring the Manufacturer’s Instructions
It sounds obvious, but skipping the manual is one of the biggest mistakes homeowners make. Modern appliances come with advanced features, energy-saving settings, and specific installation requirements.
Failing to follow those directions can cause poor performance, void the warranty, or even create safety hazards. For example, some refrigerators need to stand upright for 24 hours before being plugged in, while new washers may require removing shipping bolts before use.
Tip: Always keep the instruction booklet handy or bookmark the digital copy online. It can save you time — and prevent costly service calls later.
2. Poor Installation or Leveling
Many appliances — especially washers, dryers, and refrigerators — need to be perfectly level to work properly. When installed on uneven floors, they can shake, leak, or make loud noises.
DIY installations often overlook proper leveling or water line connections. A tilted washer can wear out bearings, and a crooked fridge door may not seal tightly, wasting energy.
If you’re unsure about setup, hire a certified technician. Professional installation ensures your appliance is connected correctly, balanced, and ready for long-term use.
3. Overloading or Misusing the Appliance
Just because a washer or dishwasher looks spacious doesn’t mean it can handle everything you throw at it. Overloading limits water and airflow, leaving clothes or dishes half-clean and straining the motor.
Similarly, using an appliance for the wrong purpose — like washing heavy rugs in a standard machine or drying shoes in a clothes dryer — can cause internal damage.
Always check the manufacturer’s capacity guidelines. When in doubt, less is more. Running smaller, balanced loads helps your appliance clean better and last longer.
4. Skipping Regular Cleaning and Maintenance
Even brand-new appliances need regular care. Food particles, lint, and detergent residue build up over time and affect performance. A neglected dishwasher or washing machine can develop odors or mold within weeks.
Simple cleaning habits make a big difference:
Wipe refrigerator door seals weekly to keep them airtight.
Clean your dishwasher filter every month.
Empty the dryer lint trap after every use.
Run a cleaning cycle on your washer with vinegar or baking soda once a month.
These small steps prevent breakdowns and keep your appliances working efficiently year-round.
5. Not Registering the Warranty
Most new appliances come with a manufacturer’s warranty, but many homeowners forget to register it. Without registration, you might miss out on free repairs, recall alerts, or extended coverage options.
It only takes a few minutes to register online using the model and serial number. Doing this ensures that if something goes wrong, your warranty is active and your claim will be processed quickly.
Bonus: Some manufacturers offer bonus perks, such as free maintenance reminders or product updates, when you register your appliance.
How to Make Your Appliances Last Longer?
If you’ve just purchased a new appliance, follow these extra tips to protect your investment:
Use the right products. Choose HE detergent for high-efficiency washers and manufacturer-approved filters or cleaning agents.
Watch your home’s power supply. Sudden voltage spikes can harm sensitive components. A surge protector is an inexpensive safeguard.
Don’t ignore warning signs. Strange noises, poor performance, or leaks mean something needs attention — call a professional before it gets worse.
Schedule routine inspections. Even once a year, a professional checkup can extend appliance life and catch hidden issues early.

Jun 7, 2025
When your dishwasher stops draining or your dryer won’t heat, it’s tempting to grab a screwdriver and try to fix it yourself. After all, there are hundreds of “how-to” videos online. But while DIY appliance repair might seem cheaper at first, it often ends up costing you more in the long run.
Here’s why hiring a professional appliance repair service is the smarter, safer, and more reliable choice for every homeowner.
1. Professionals Know What They’re Doing
Appliance repair technicians aren’t just “handy.” They’re trained experts who understand how every component works — from electrical wiring to water pumps and control boards.
Modern appliances are complex machines. A small mistake in a DIY attempt can lead to bigger damage or safety risks. A certified technician can diagnose the real problem quickly and fix it correctly the first time.
Pro tip: When choosing a repair company, look for technicians certified by manufacturers or accredited programs. This ensures they’re trained to handle your specific brand.
2. Safety Comes First
DIY repairs can be risky. Appliances use electricity, gas, and water — a dangerous combination if you don’t have the right tools or experience. One wrong move could cause electrical shocks, leaks, or even fires.
Professional technicians know how to handle these hazards safely. They follow safety protocols, use insulated tools, and carry insurance in case anything goes wrong.
Your safety — and your home’s — is worth far more than saving a few dollars on a repair bill.
3. It Saves You Time (and Stress)
Let’s be honest — most DIY repairs take longer than expected. You have to watch tutorials, buy the right tools, figure out disassembly, and hope you can put it all back together. Meanwhile, your appliance is still broken.
A professional, on the other hand, can usually diagnose and fix the problem in one visit. They’ve seen the issue hundreds of times before and come prepared with the right parts.
Instead of spending your weekend knee-deep in wires and frustration, you can relax knowing the job will be done right — and fast.
4. Long-Term Cost Savings
DIY repairs may seem cheaper upfront, but small mistakes can lead to expensive future damage. Miswiring, over-tightening, or using the wrong replacement part can cause new issues that void your warranty or require full replacement later.
Professional repairs might cost a little more initially, but they save money in the long run. You’ll get lasting results, guaranteed parts, and work that keeps your appliance running efficiently for years.
Quick fact: Many reputable repair companies credit your diagnostic fee toward the total repair cost if you choose to hire them.
5. Warranty Protection and Peace of Mind
Most manufacturers’ warranties require repairs to be done by licensed professionals. If you attempt a DIY fix, you could void your appliance’s warranty — meaning you’ll pay out of pocket for any future issues.
Professional repair services not only protect your warranty but also offer their own guarantees on parts and labor. If something goes wrong after the repair, they’ll come back to fix it at no extra charge.
That peace of mind is something no YouTube tutorial can offer.
When to Call a Professional?
If your appliance shows any of these signs, it’s best to call a qualified technician:
Unusual smells (burning, gas, or electrical)
Strange noises or vibrations
Leaking water or refrigerant
Appliance won’t start or shuts off mid-cycle
Lights flicker or circuit breaker trips
Professionals have the diagnostic tools to find the exact issue — not just guess based on symptoms.

Mar 8, 2025
If your dishwasher isn’t doing its job, you’re not alone. Few things are more frustrating than opening the door after a wash cycle and finding dishes still dirty, streaky, or covered in food. The good news? Most cleaning problems have simple causes — and even simpler fixes.
Let’s look at five of the most common reasons your dishwasher isn’t cleaning properly and what you can do to fix them.
1. Clogged or Dirty Spray Arms
The spray arms are the heart of your dishwasher’s cleaning system. They spin and spray water at high pressure to remove food from dishes. Over time, small bits of food, grease, or hard water minerals can block the spray holes, reducing water flow and cleaning power.
To fix this, remove the spray arms and rinse them under warm water. Use a toothpick or small brush to clear out any debris stuck in the holes.
If you live in an area with hard water, soak the spray arms in a mix of vinegar and warm water for about 30 minutes to dissolve mineral buildup.
💡 Pro tip: Make cleaning the spray arms part of your monthly maintenance routine to prevent future blockages.
2. Dirty or Clogged Filter
Your dishwasher filter traps food particles to prevent them from recirculating during the wash cycle. But when it’s clogged, dirty water can’t drain properly — and your dishes won’t come out clean.
Remove the bottom rack and twist out the filter (it’s usually near the drain). Wash it with warm, soapy water and a soft brush. Rinse thoroughly before placing it back.
If your dishwasher has a secondary or fine-mesh filter, make sure to clean that too. A clean filter helps water flow freely and improves cleaning efficiency.
3. Not Loading the Dishwasher Correctly
Even a powerful dishwasher can’t perform well if dishes block the spray arms or detergent dispenser. Overloading or improper placement is a common reason for poor cleaning results.
Here’s how to load your dishwasher the right way:
Top rack: Cups, glasses, small bowls, and plastic items.
Bottom rack: Plates, pots, pans, and larger dishes.
Utensil basket: Forks and spoons handle-down; knives handle-up for safety.
Avoid nesting bowls or stacking dishes too close together. Water needs room to circulate and reach every surface.
🛠️ Quick fix: Always spin the spray arms manually before closing the door to make sure nothing blocks their movement.
4. Using the Wrong Detergent or Too Little of It
Not all detergents are created equal. Using the wrong type — or not enough — can leave a greasy film or food residue on your dishes.
Always use detergent made specifically for automatic dishwashers, and check the packaging for dosing instructions. Powder, pod, or gel — whichever you prefer — make sure it’s designed for your water hardness level.
If you have hard water, consider adding a rinse aid or water softener. This prevents mineral deposits and helps your dishwasher clean and dry more effectively.
💡 Tip: Store detergent in a cool, dry place. Moisture can cause clumping, reducing its cleaning power.
5. Low Water Temperature or Pressure Problems
Hot water is crucial for breaking down grease and dissolving detergent. If your dishwasher isn’t getting water hot enough (at least 120°F or 49°C), it can’t clean effectively.
To test this, run your kitchen sink’s hot water for a minute before starting the dishwasher. This ensures hot water fills the unit right away.
If the water temperature is fine but your dishwasher still struggles, check for low water pressure or a kinked supply hose. Clogged inlet valves can also reduce water flow and should be inspected by a technician if needed.
Bonus Tip: Clean the Dishwasher Itself
Even dishwashers need cleaning! Run an empty cycle with a cup of white vinegar placed on the top rack. This removes grease and soap buildup inside the machine.
For extra freshness, sprinkle baking soda on the bottom and run a short hot cycle. Your dishwasher will smell clean and perform better.
When to Call a Professional?
If you’ve checked all these areas and your dishes are still coming out dirty, the issue may be deeper — such as a faulty pump, heating element, or motor. In that case, it’s best to schedule a professional appliance diagnostic service.
An expert can identify the root cause quickly and help you decide whether repair or replacement makes more sense.


